Home>Storage Ideas>Easy Room Painting Ideas For The Beginner
Storage Ideas
Easy Room Painting Ideas For The Beginner
Modified: December 6, 2023
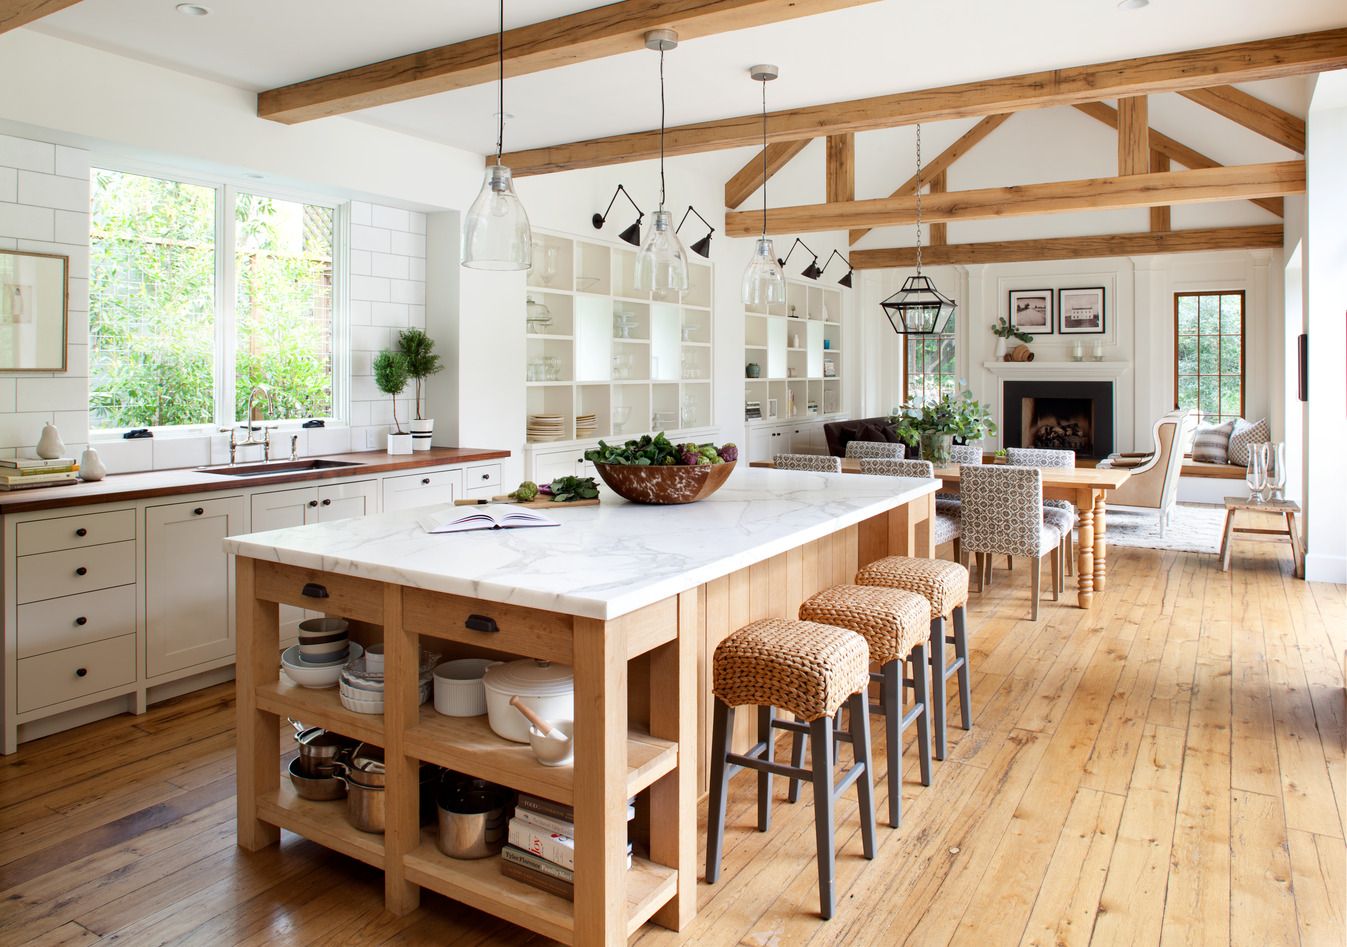
Say no to plain walls; don't be afraid to go bold! Have walls that need refreshing? Here's 10 painting ideas you can refer to before your next DIY project.
(Many of the links in this article redirect to a specific reviewed product. Your purchase of these products through affiliate links helps to generate commission for Storables.com, at no extra cost. Learn more)
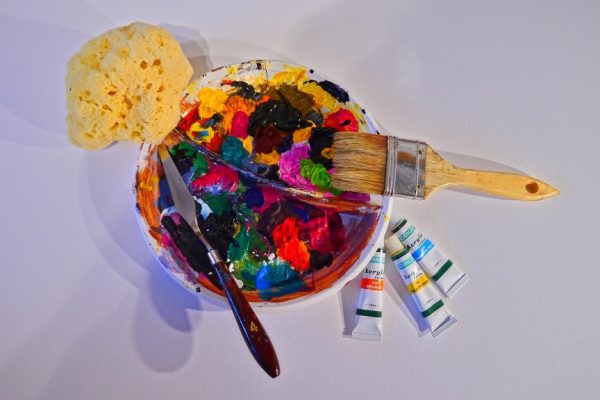
Sick and tired of having plain white walls for your house?
Contrary to popular belief, DIY wall-painting isn’t quite as difficult as you might think. With some paint and a fair bit of patience, you can create your own gorgeous walls and save some money in the process. Here are some easy room painting ideas to get you started:
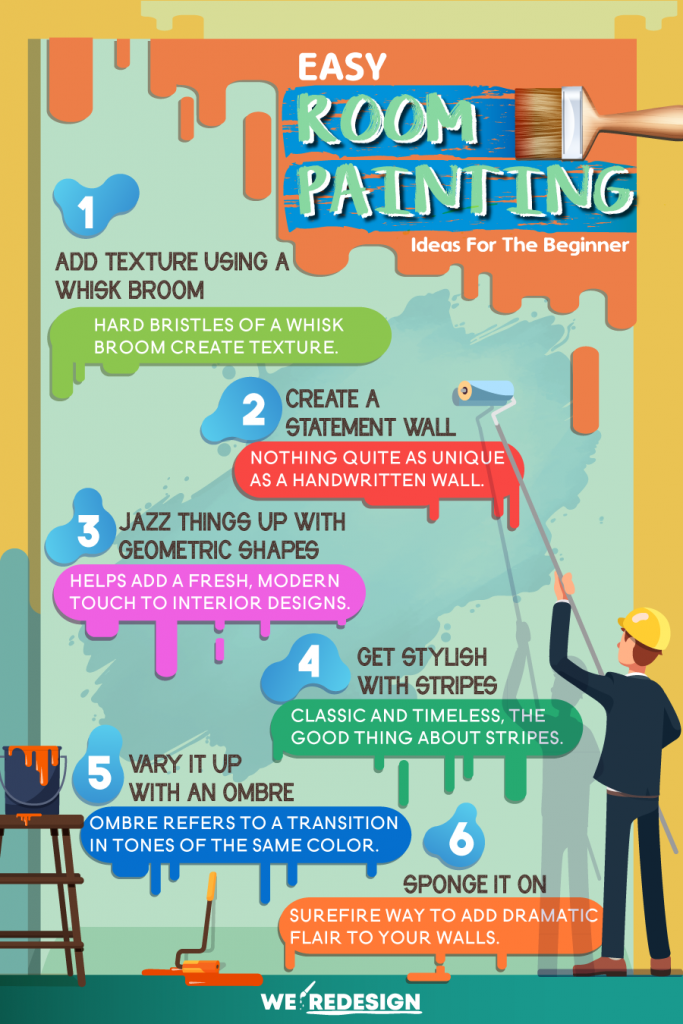
1. Add Texture Using A Whisk Broom
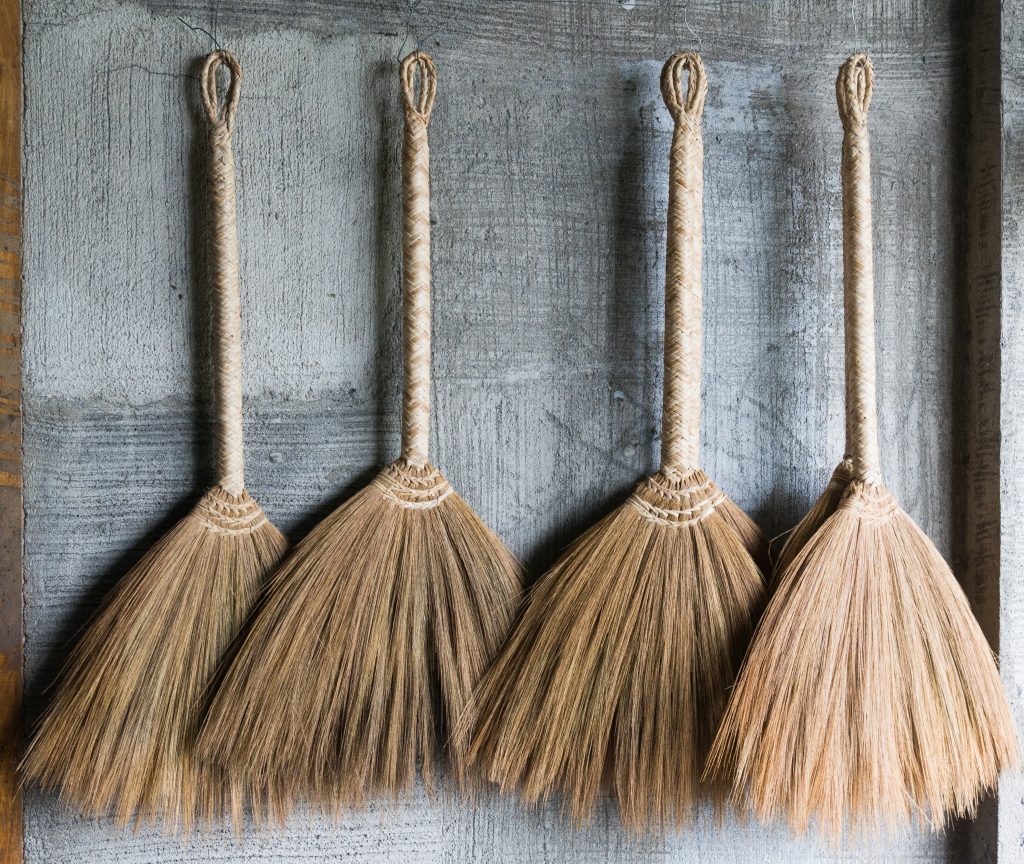
Photo from Wikipedia
A household staple, the whisk broom is more than just a tool to keep the house clean – it’s perfect for DIY painting as well.
The fine, hard bristles of a whisk broom create texture easily when used on dried paint.
To create this effect, you will need the following:
- Masking tape
- Roller
- A clean whisk broom
- Textured paint
Steps:
- Remove any loose or flaking paint and wallpaper if any.
- Cover baseboards and light switches with masking tape.
- Apply the textured paint around the perimeter of the area you’re working on like around light switches and windows or along a strip on one side where walls meet.
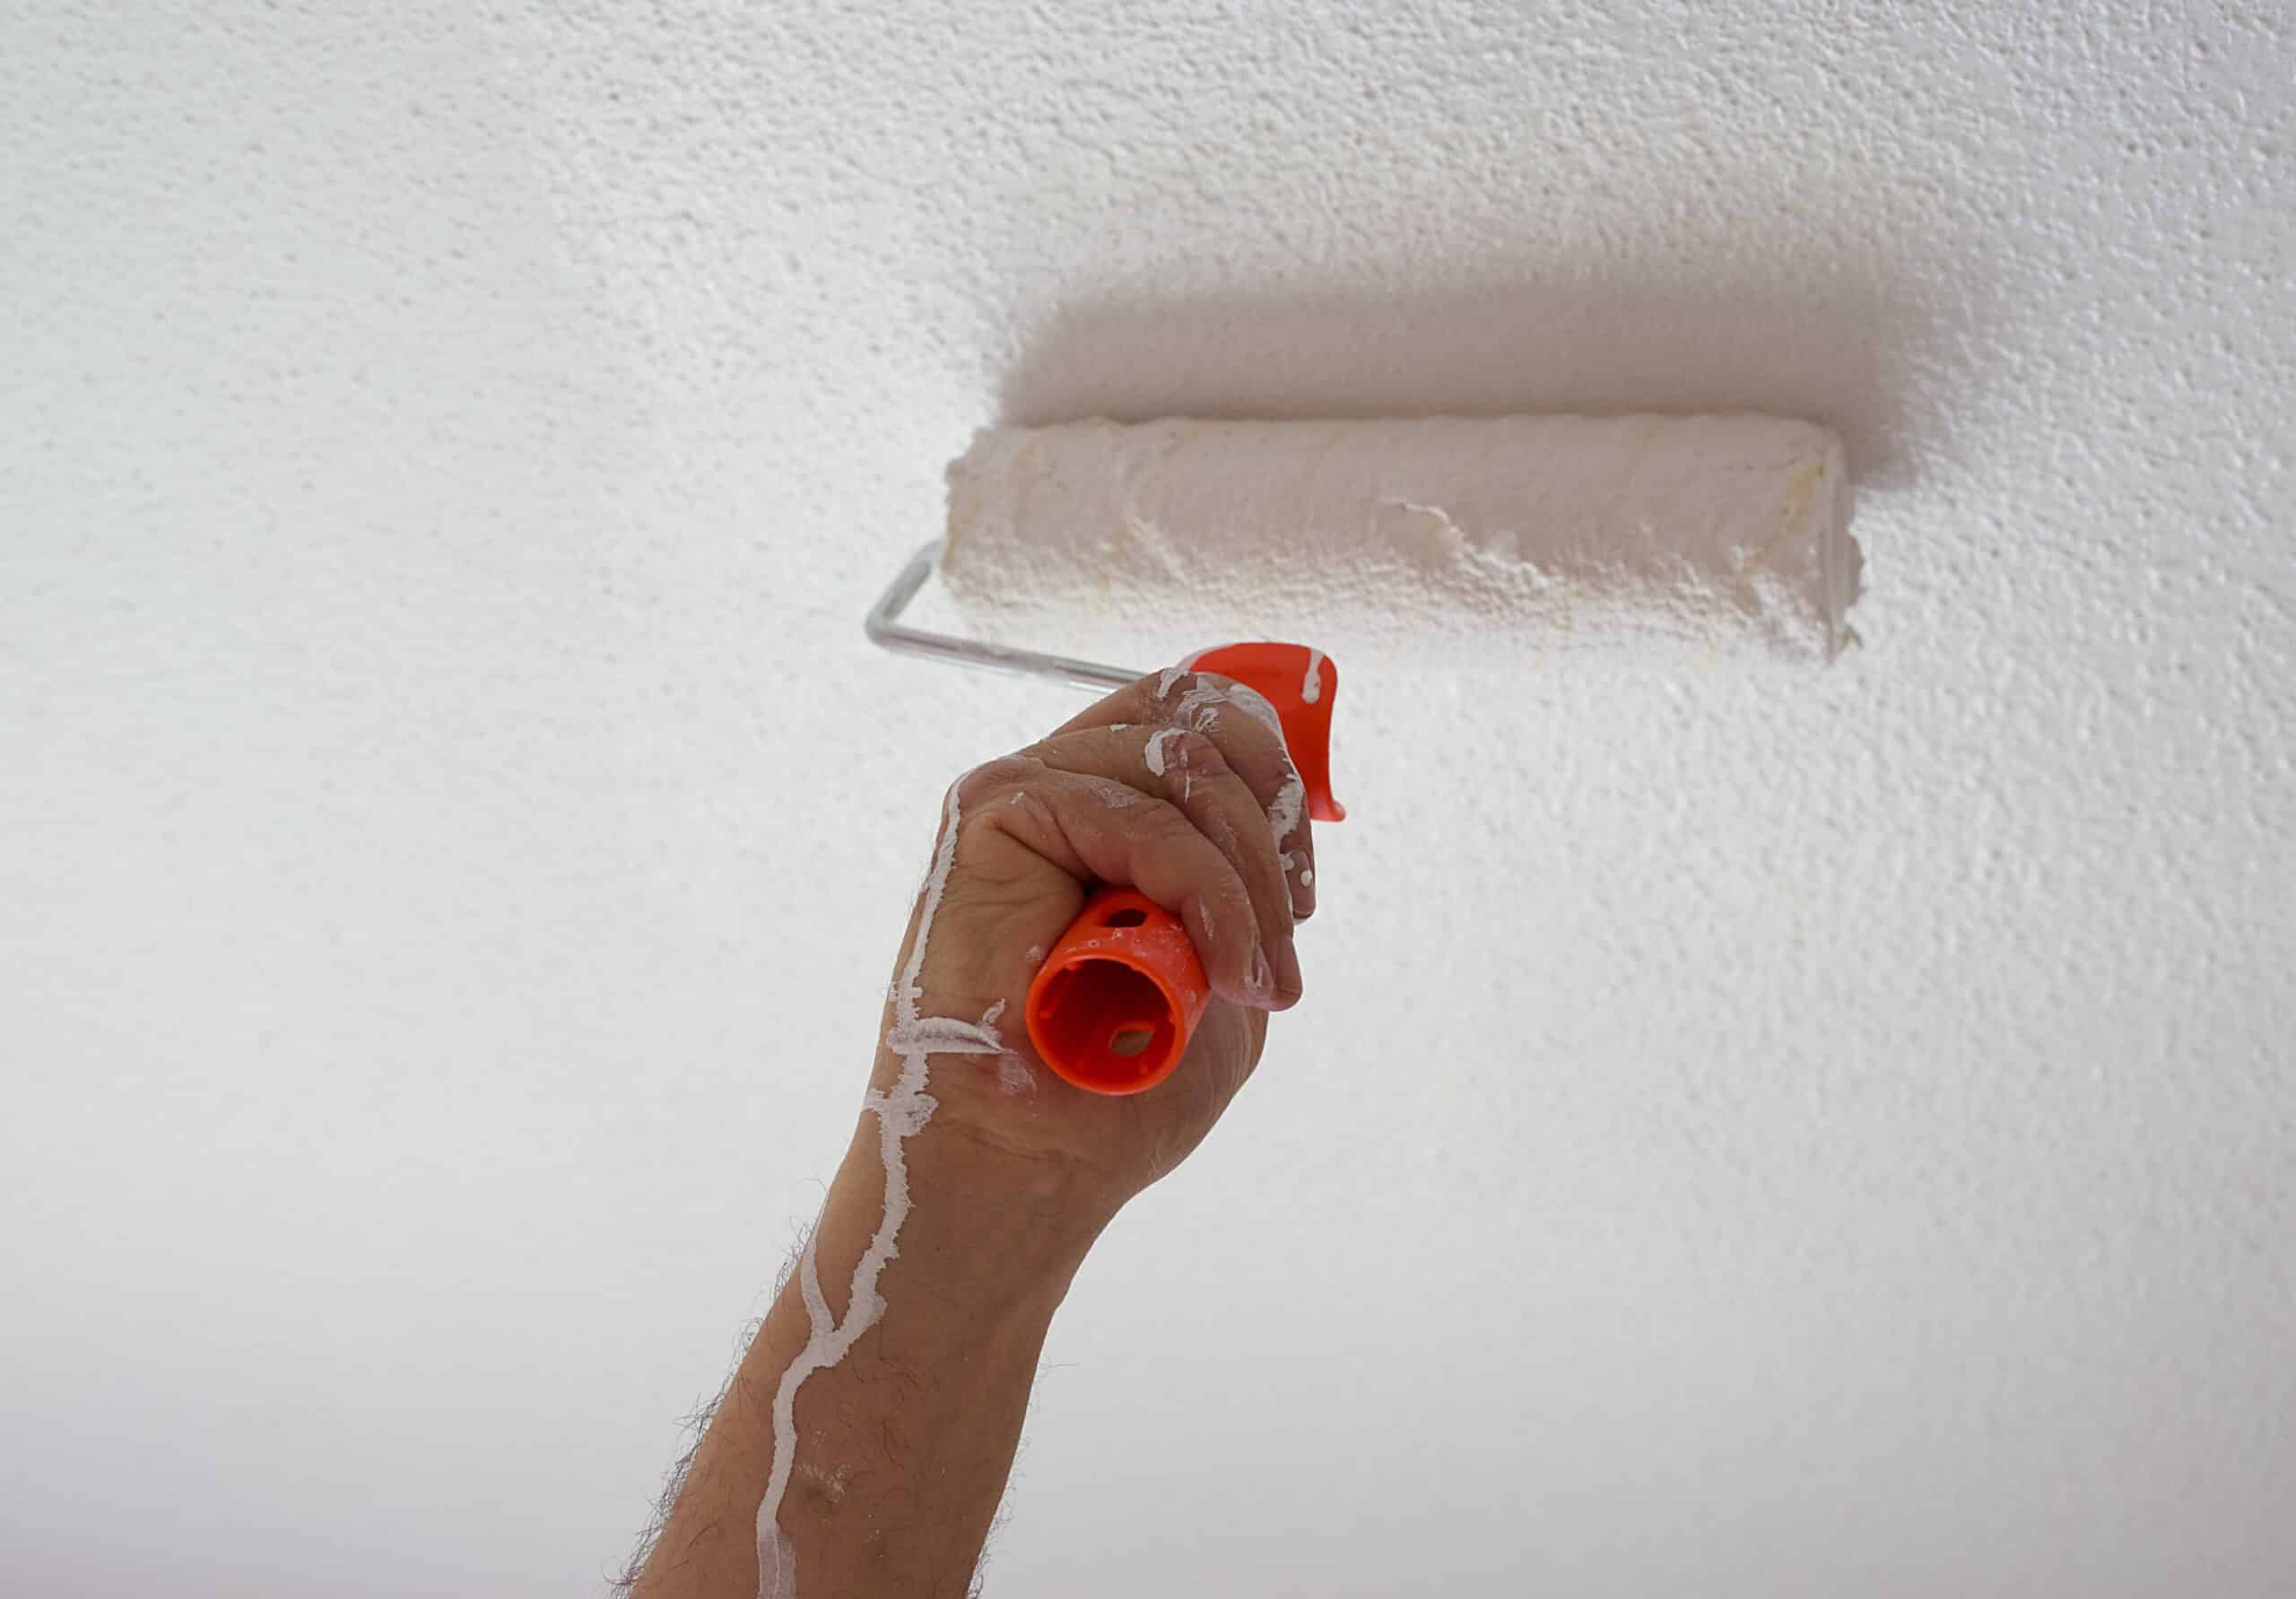
- Paint the entire walls using a roller.
- Let the paint dry for a while (20 minutes).
- Re-coat a three-inch wide strip from floor to ceiling either using left-to-right or right-to-left movements.
- Leave for five minutes.
- “Sweep” the whisk broom from the ceiling to the baseboard in one long, steady movement.
- Remove excess paint from the broom.
- Repeat steps 6-9 until all walls have been covered with texture.
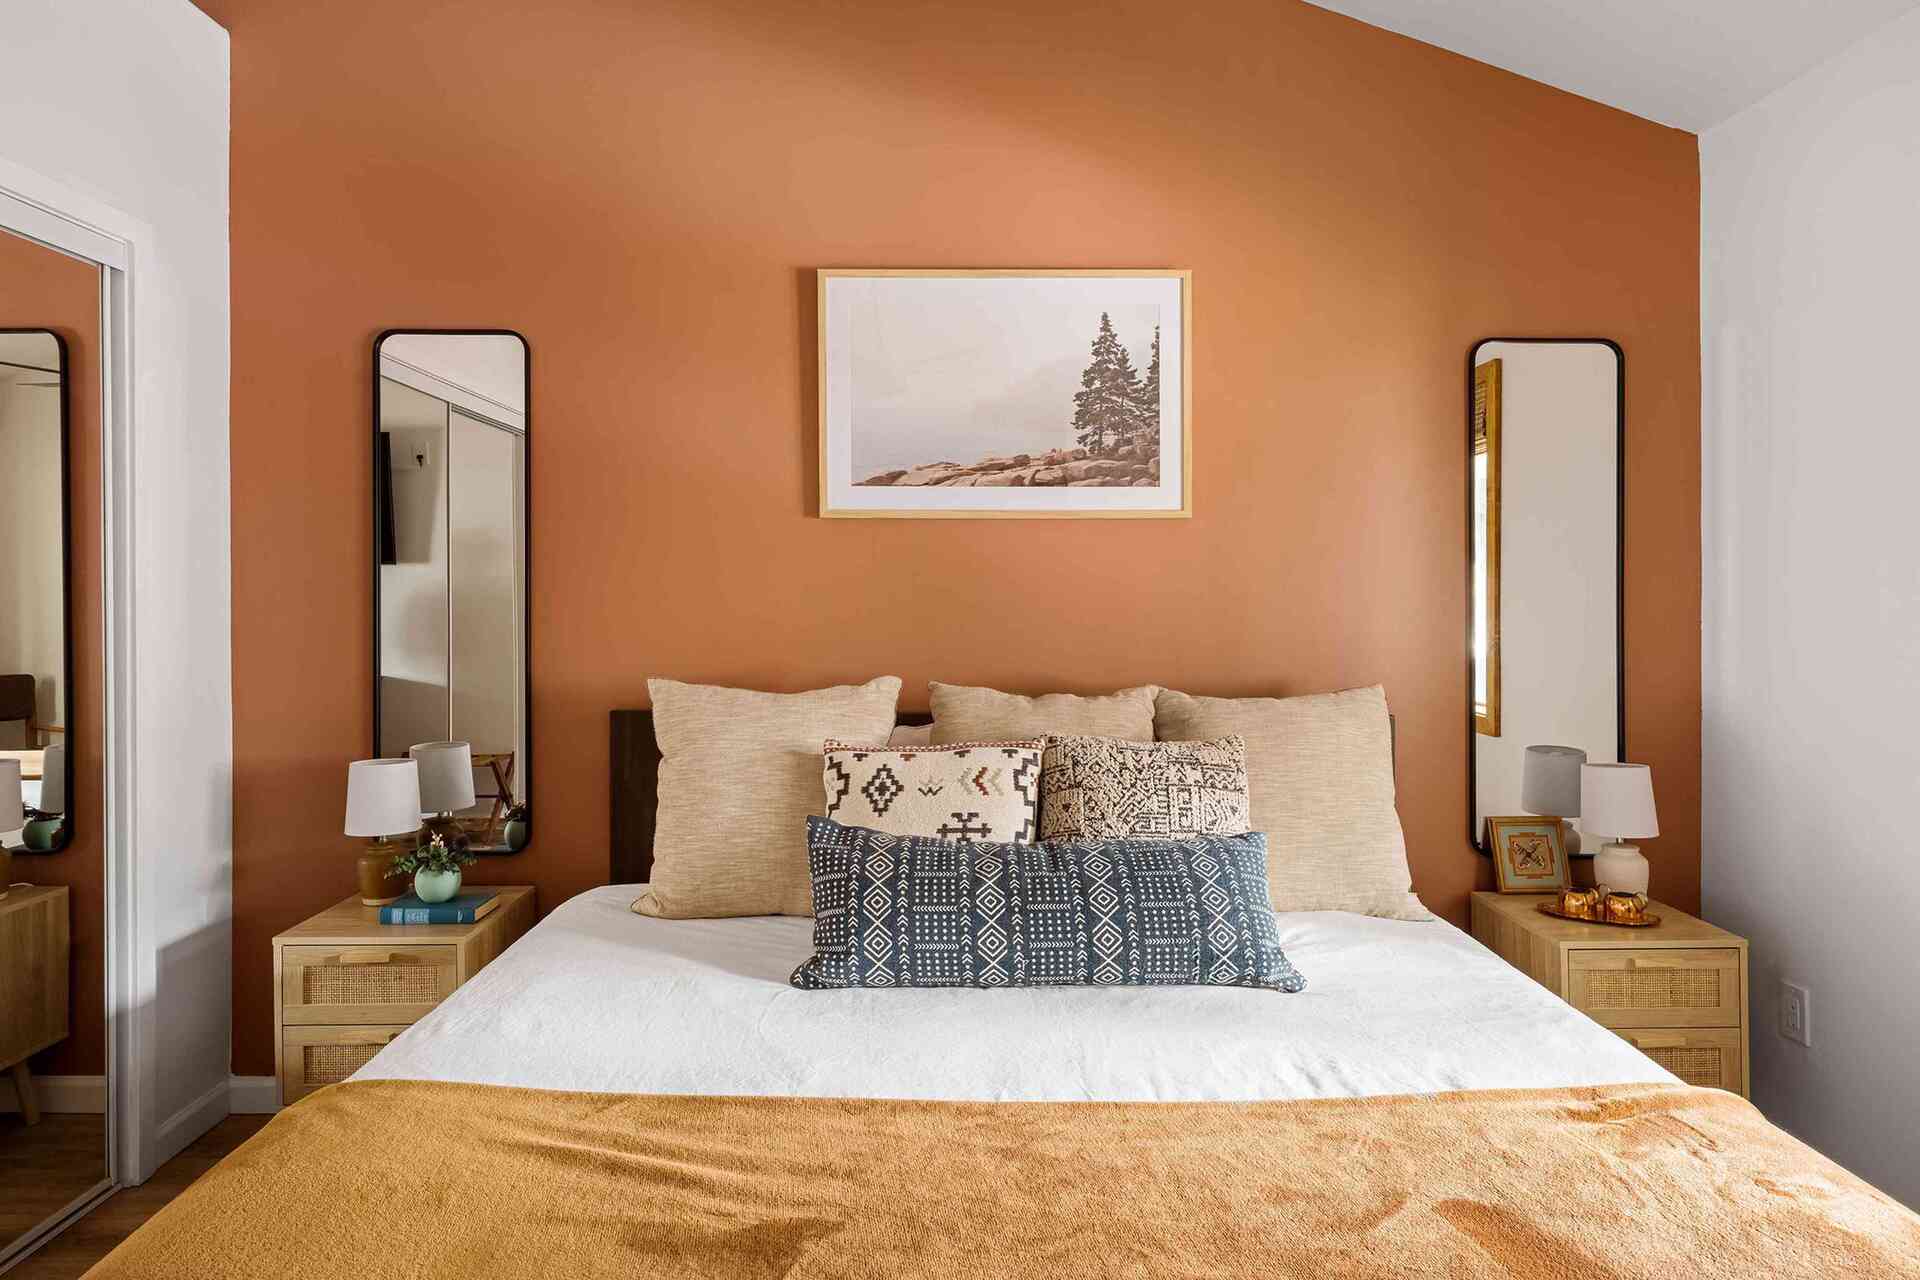
2. Create A Statement Wall
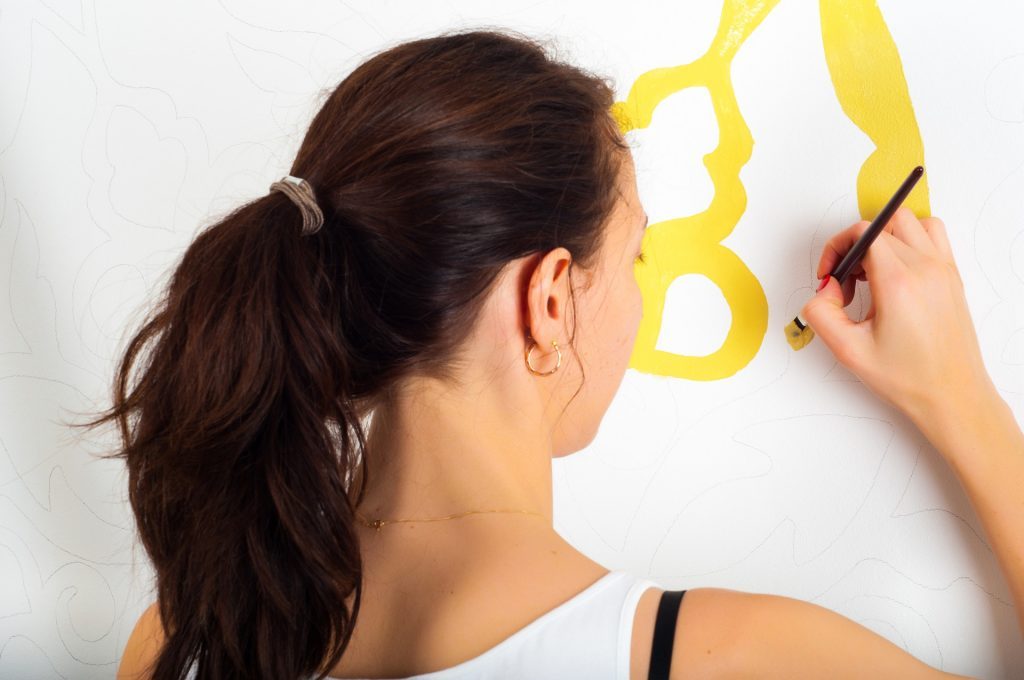
This project is perfect for those looking for something personalized. Although the process is long and slightly tedious, there’s arguably nothing quite as unique as a handwritten wall.
To create this effect, you will need the following:
- Tape
- Pencil
- Latex wall paint
Steps:
- Tape lines about 2-3 feet apart across the entire wall. This is to ensure that words are evenly spaced out.
- Write each line with a pencil. Alternatively, create the words using your favorite font and a projector.
- Paint over the words.
- Repeat until done.
3. Jazz Things Up With Geometric Shapes

With just three steps involved, this one’s perfect for anyone who doesn’t have the time for more elaborate projects.
Geometry helps add a fresh, modern touch to interior designs. Depending on your preferences, the shapes can either be symmetrical or asymmetrical.
Consider using the same color for the entire wall or mix it up by using different colors.
To create this effect, you will need the following:
- Painter’s tape
- Paint roller
- Paint (color of your choice)
Steps:
- Create the desired pattern using painter’s tape.
- Apply the paint using a roller.
- Wait for the paint to dry then peel the tape off.
4. Get Stylish With Stripes
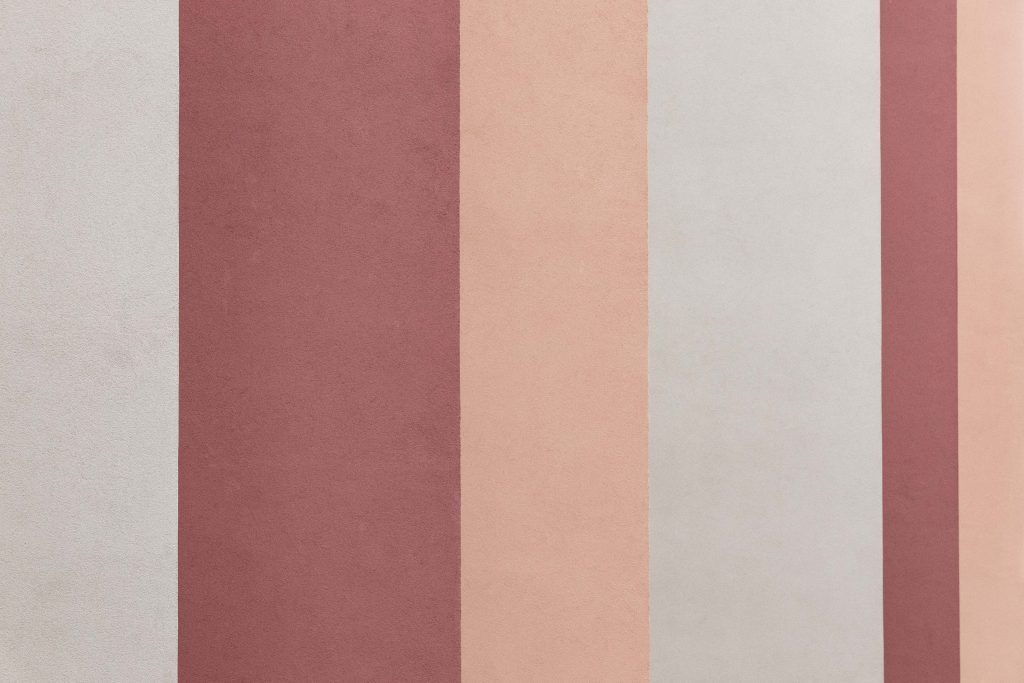
Classic and timeless, the good thing about stripes is that they look good yet are fairly simple to create.
Colored stripes, black-and-white stripes, horizontal/vertical stripes – the possibilities are endless when it comes to this pattern.
One idea you could try is to add a twist to the typical stripe (two colors) by adding a third stripe in between. To emphasize the two main colors, add a thin white stripe between the larger ones.
To create this effect, you will need the following:
- Pencil
- Ladder
- Tape Measure
- Level
- Paint Tray
- Paint
- Painter’s tape
- Paint rollers and covers
- Drop Cloths
Steps:
- Pick a stripe you like: colored or black-and-white, double or triple, etc.
- Choose a base color to paint the entire wall(s) with.
- Using multiple colors? The base color should be the lightest of all the colors. If necessary, give the wall a second coat of paint.
- Give up to 48 hours for the paint to dry completely.
- For horizontal stripes, measure the height of the wall; for vertical stripes, measure its width. To calculate the width of each stripe, divide the measurement by the number of stripes.
- To mark the position of the stripes, use a measuring tape and a pencil. Next, using a level as a straight edge, draw the entire stripe.
- Tape all the areas you want to protect.
- To paint the stripes on the wall, use a paint roller. Ensure that you paint over the edge of the line to get a clean line. If necessary, apply a second coat.
- Pull the tape off at an angle with care. Remove the stripes before the paint has fully dried, else the paint might come off as well.
5. Vary It Up With An Ombre

Ombre refers to a transition in tones of the same color. Essentially, it’s all about blending two or more colors on a single wall.
An ombre typically starts with the lightest color at the top of the wall, shifting to medium and gradually blending into the darkest shade at the bottom of the wall. The end result is a soft, pleasant look.
For a more natural transition, choose shades that are very similar to one another. These colors blend more easily and produce the best results.
To create this effect, you will need the following:
- Level
- Pencil
- Paintbrush
Steps:
- Tape off the area to ombre.
- Using a level and a pencil, denote lines where you want the color transition to happen.
- Roll out colors.
- Dip half of the brush each in the two colors you want to paint.
- Blend the two colors by brushing back and forth quickly.
- Repeat steps 4-5 for all the colors you want to blend.
- Finish by touching up.
6. Sponge It On

A quick but surefire way to add dramatic flair to your walls, unleash your creativity with a kitchen sponge and some paint.
To create this effect, you will need the following:
- Painter’s tape
- Latex glaze
- Low glass paint for base
- Extender
- Latex paints for sponge accents
- Stepladder
- Rags
- Paintbrush/Sponge
- Paint Roller
- Paint Tray
Steps:
- Mix paint with glaze.
- Sponge on the first color over the base coat.
- Using either a paintbrush or small piece of sponge, dab the corners and edges of the wall with paint.
- After the first layer of paint has dried, apply the second layer of paint.
- Add more layers if desired.
For anyone wanting to give your house a makeover, this is your cue. Try these easy painting ideas for your next DIY project!
Was this page helpful?
At Storables.com, we guarantee accurate and reliable information. Our content, validated by Expert Board Contributors, is crafted following stringent Editorial Policies. We're committed to providing you with well-researched, expert-backed insights for all your informational needs.


0 thoughts on “Easy Room Painting Ideas For The Beginner”